Some people might use crystal balls to take a glimpse into the future - but we’re trying something different today: Incorporating one into our shot to make it more interesting!
Actually, I wouldn’t have thought of getting one for this purpose myself, however my wife had this challenge of getting me something for my birthday that I would enjoy, but haven’t bought for myself yet. Because of my impatience, that’s a rather difficult one, but she actually found a niche in the world of photography I didn’t know about: photographers using glass orbs for their photography! She saw their results on different websites and I agree, they can be really stunning!
Well - so she got one for me and this post is about my first steps using this new tool.
Physics
I will try not to be too technical today, and not talk about light rays and refraction because I would rather talk about the possibilities this tool offers. However, to get started, I have to state the basic properties of this ball so we’re all on the same page:
It is a glass orb, it refracts the light.
It acts like a lens, you can focus on the image inside the ball.
If you do so, there is a fall-off of sharpness towards the edge.
The sharp area within the ball is larger if the scene you see through the orb is far away.
The image you see within the orb is upside-down.
So, having that out of the way, let’s talk about how to make use of it:
Adding nother subject to the scene
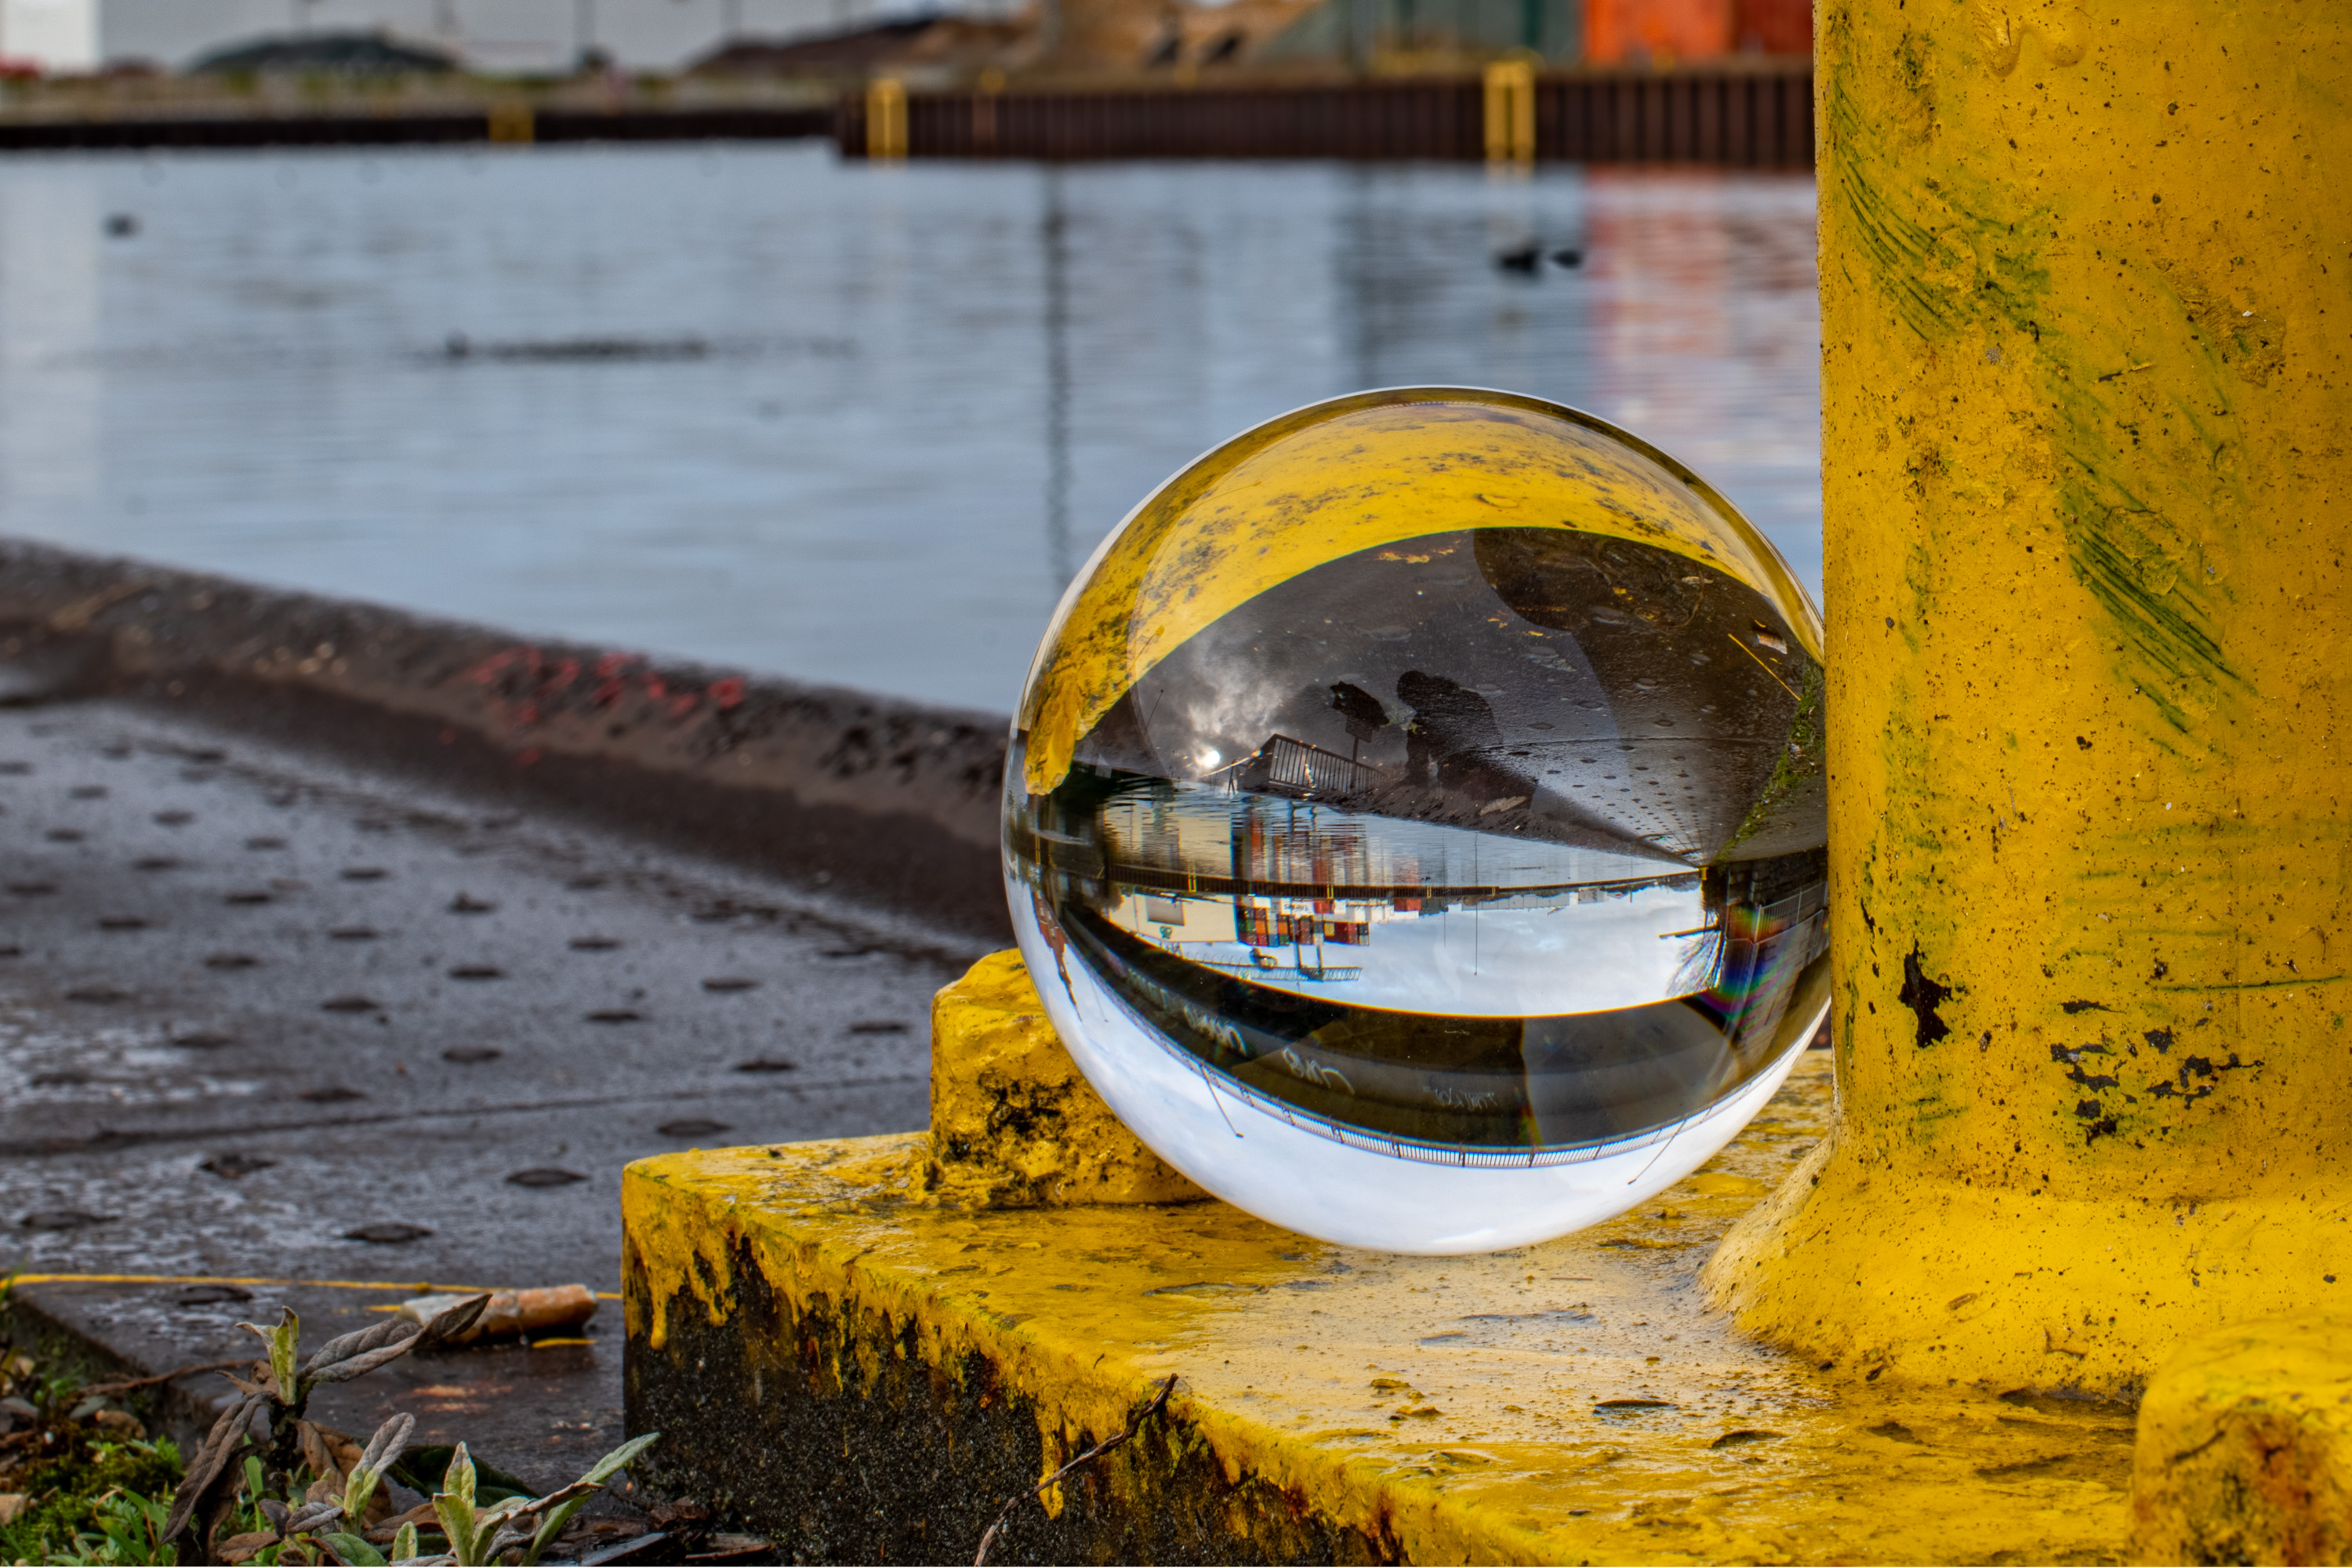
The glass orb is just perfect for adding something interesting into a scene that might otherwise be rather boring. You know those landscape shots, where you really like a feature - a mountain, a tree, a building, but you feel that something is missing? There is just your subject, but you wish you had something to frame it, some visual counterpart, some leading lines, but there is just nothing there?
This glass orb is perfect for that - you can place it in the foreground and you have something interesting to balance out your composition!
The nice thing, in my opinion, is that it’s literally transparent - so in my book you’re not really adding something artificial into the scene, you more or less just alter some light paths.
So although the effect is prominent, I think it leaves your scene relatively pure.
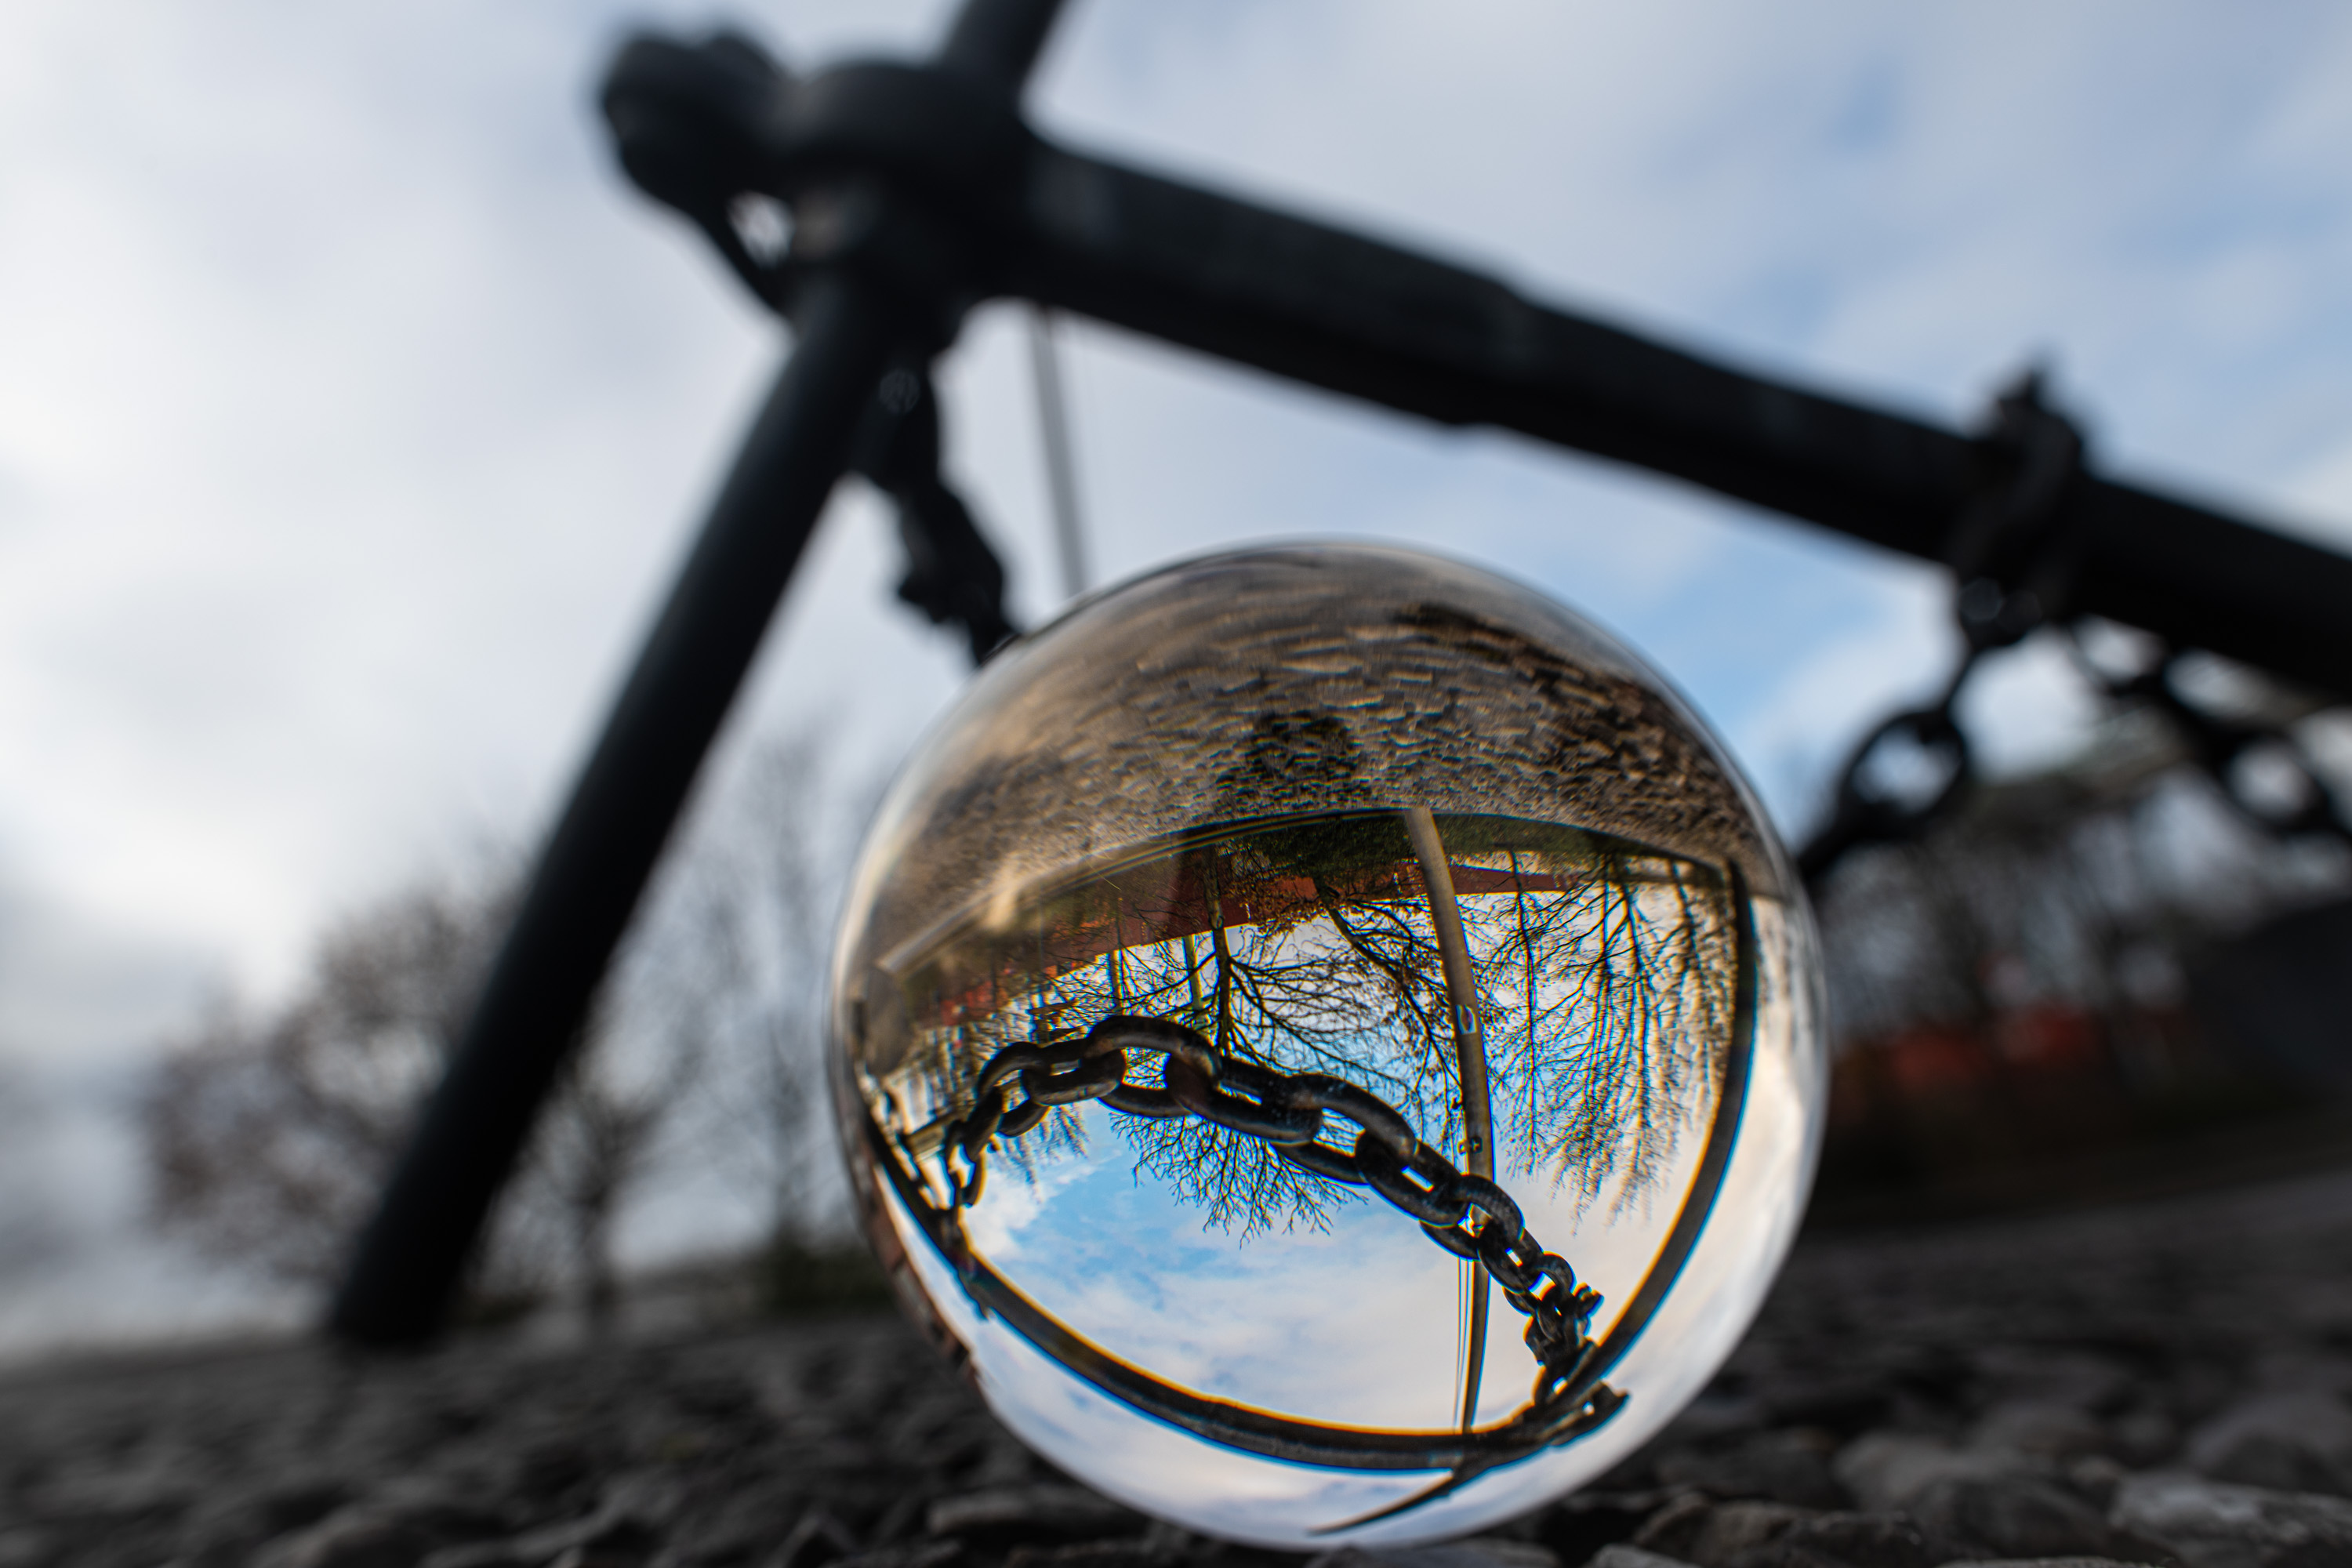
Framing
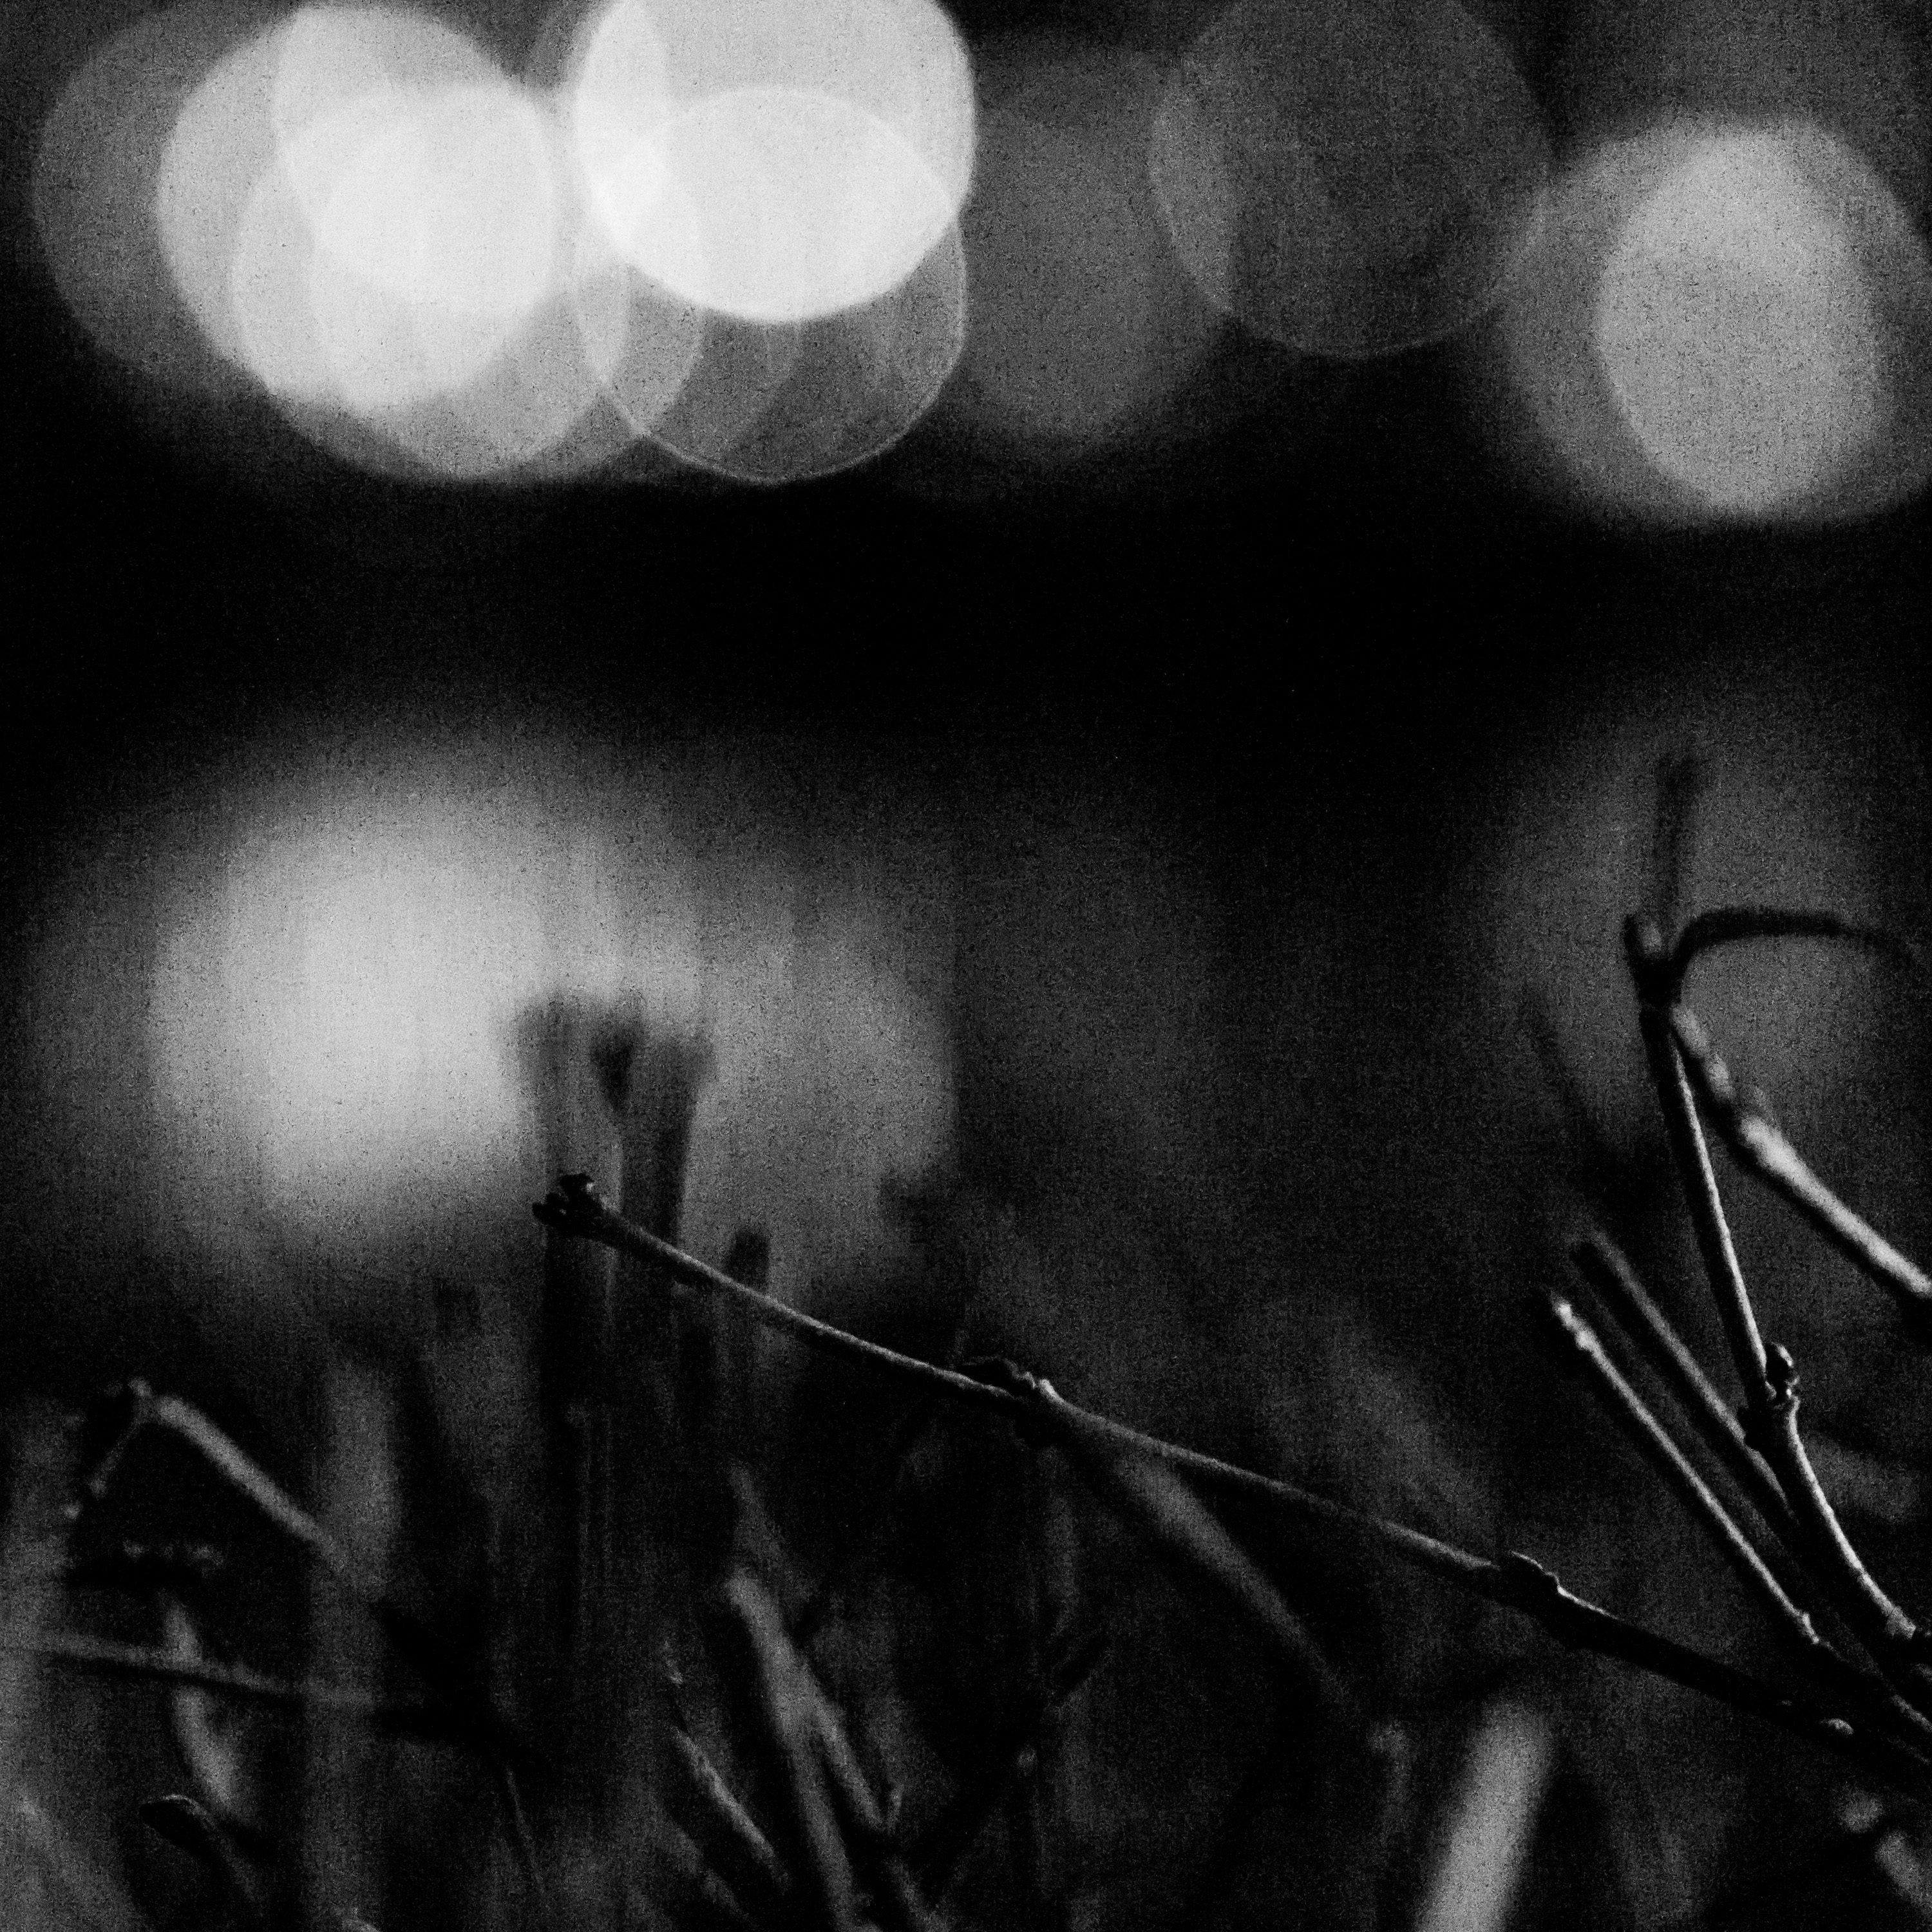
We’re often looking for natural frames: An overhanging branch, shooting through a window or doorframe or making a heart shape with our hands to shoot our bae through it for instagram - and the glass orb can create a frame as well! This works mainly by creating an out-of-focus area around the center:
Treating the subject inside the orb a little different in post processing can intensify this effect, of course.
Focus on detail
As the orb is still a lens, we can take advantage of the magnification properties it has. I found, that placing the orb directly onto a texture I want to magnify creates a great macro effect, throwing everything else so far out of focus that there are no distractions anymore!
I think that works best with texture-like, repetitive materials, like this rope I rolled up. The fact, that everyone can imagine that the rope goes on like that makes it fine, that we only see a small portion of it in focus, and the steep fall-off of sharpness is no problem.
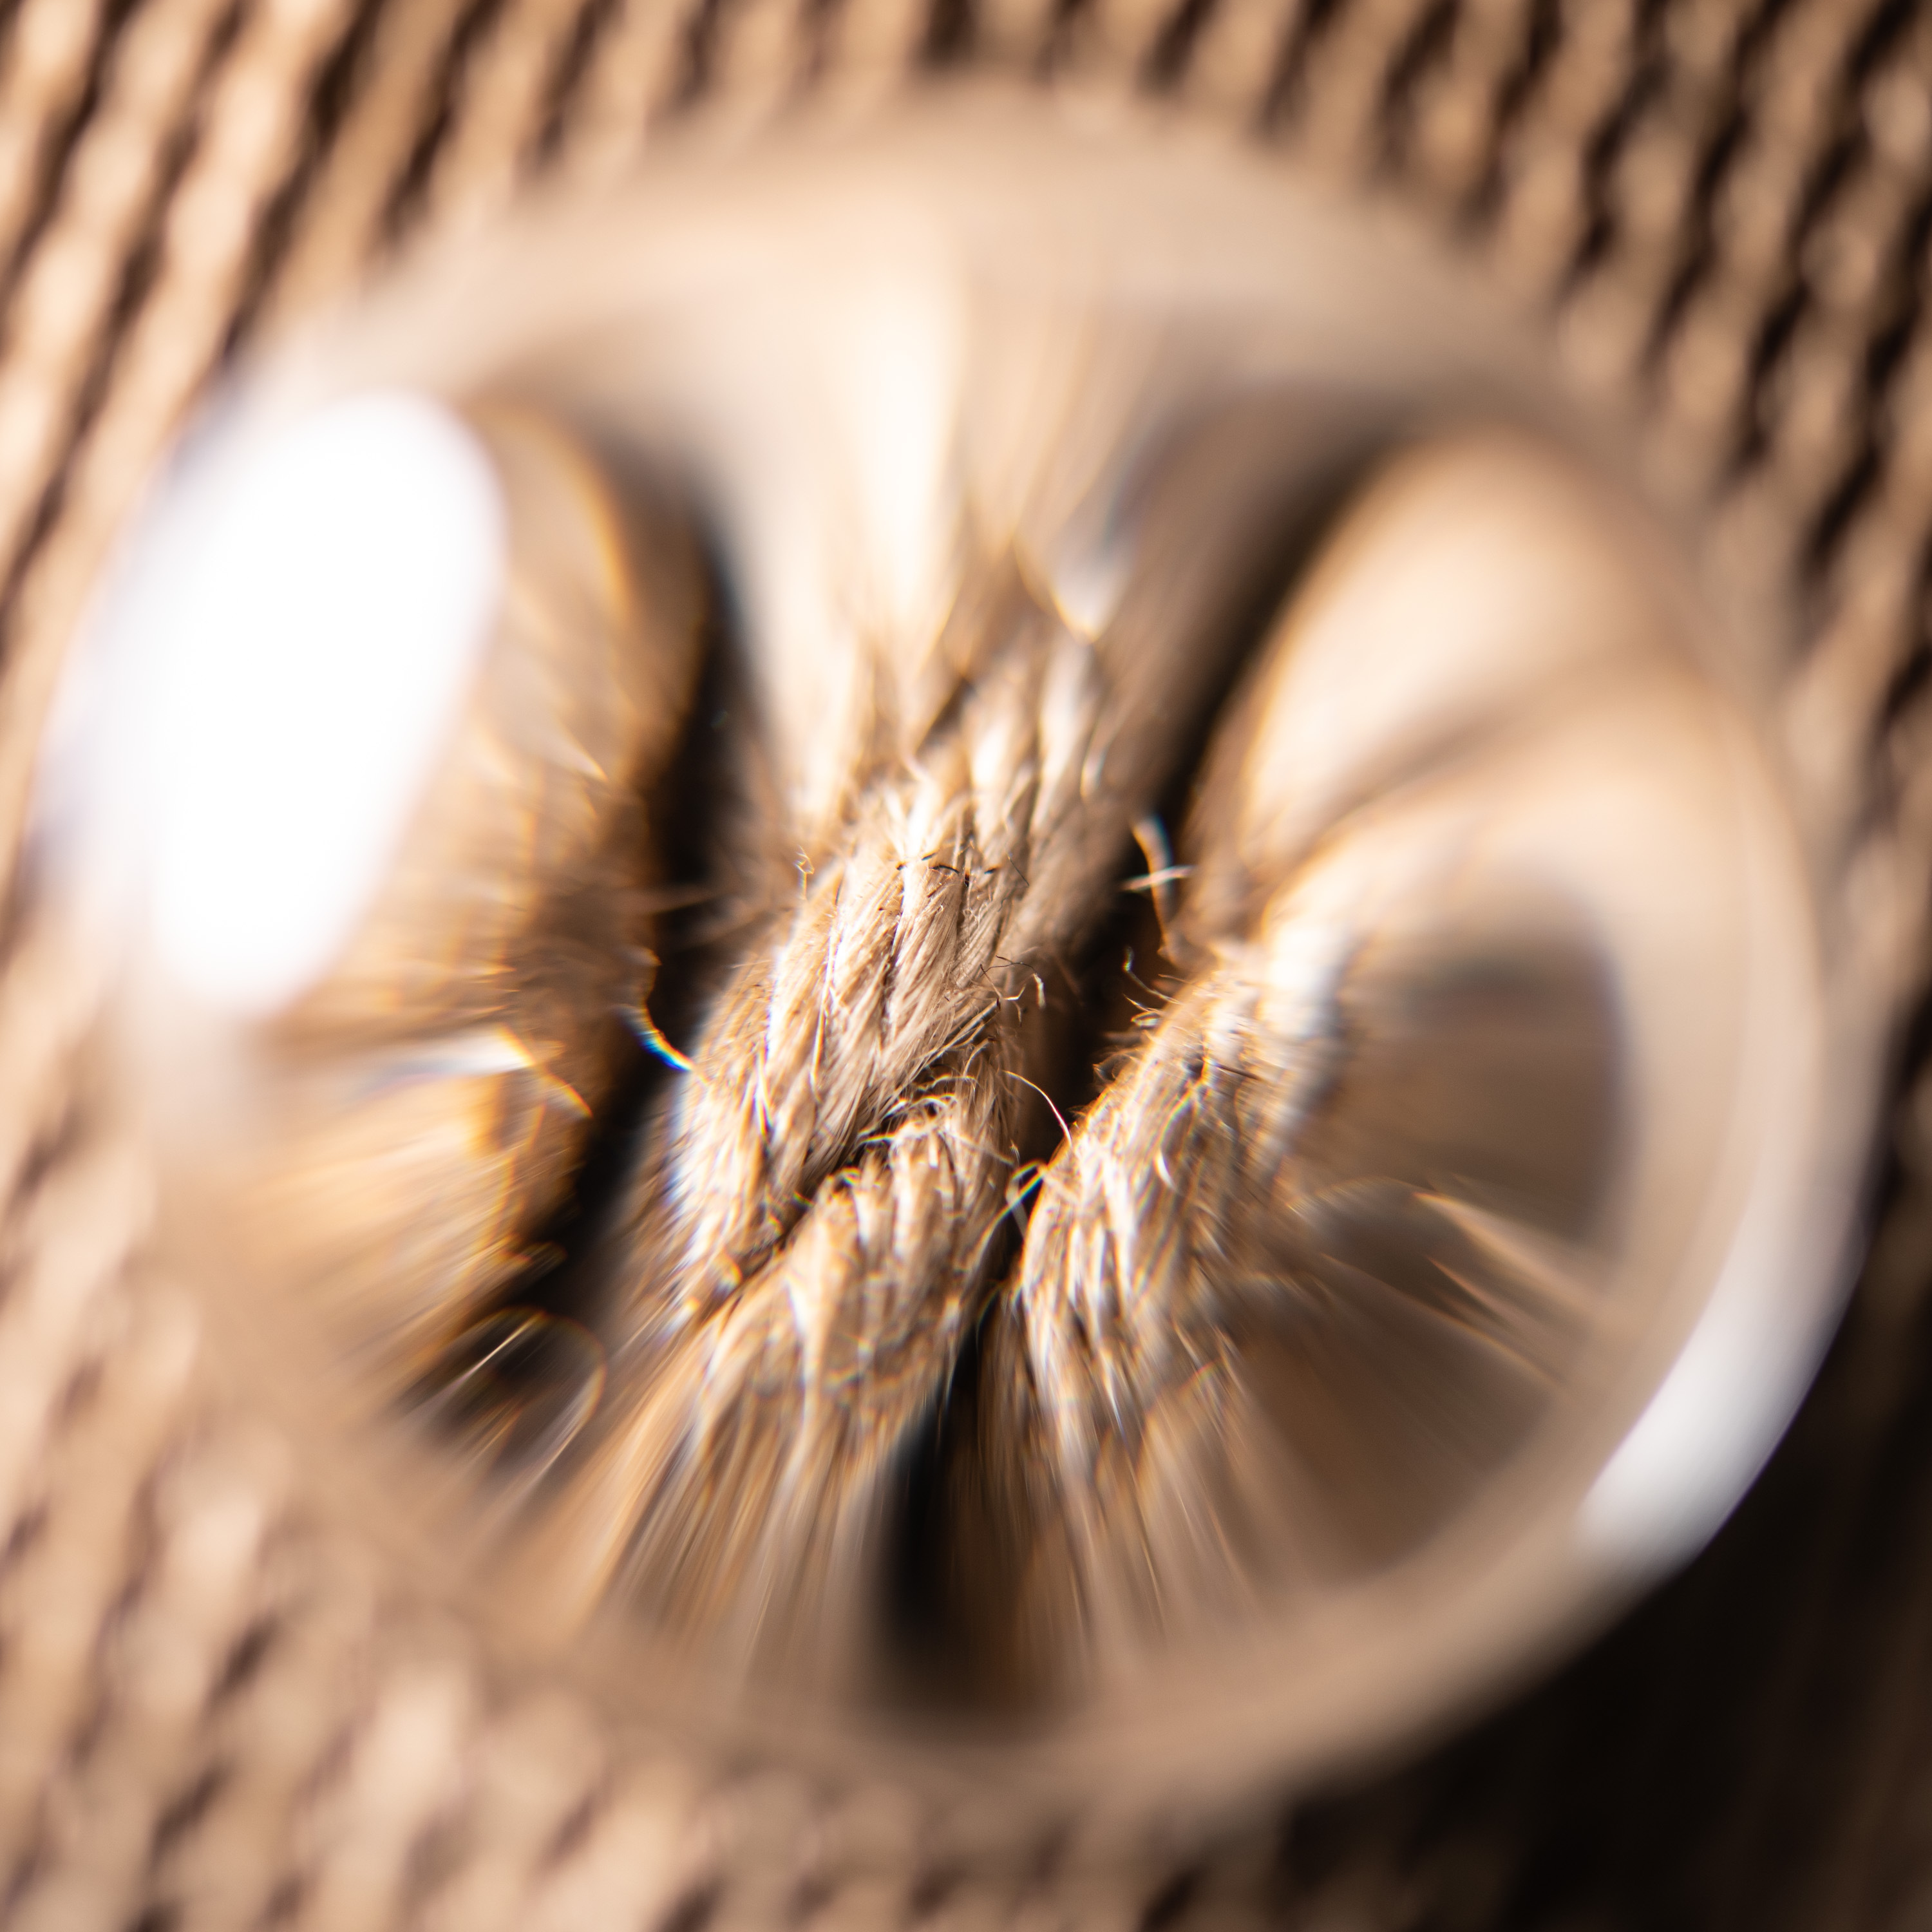
I wouldn’t choose this method to photograph a more unique subject like an insect or a blossom.
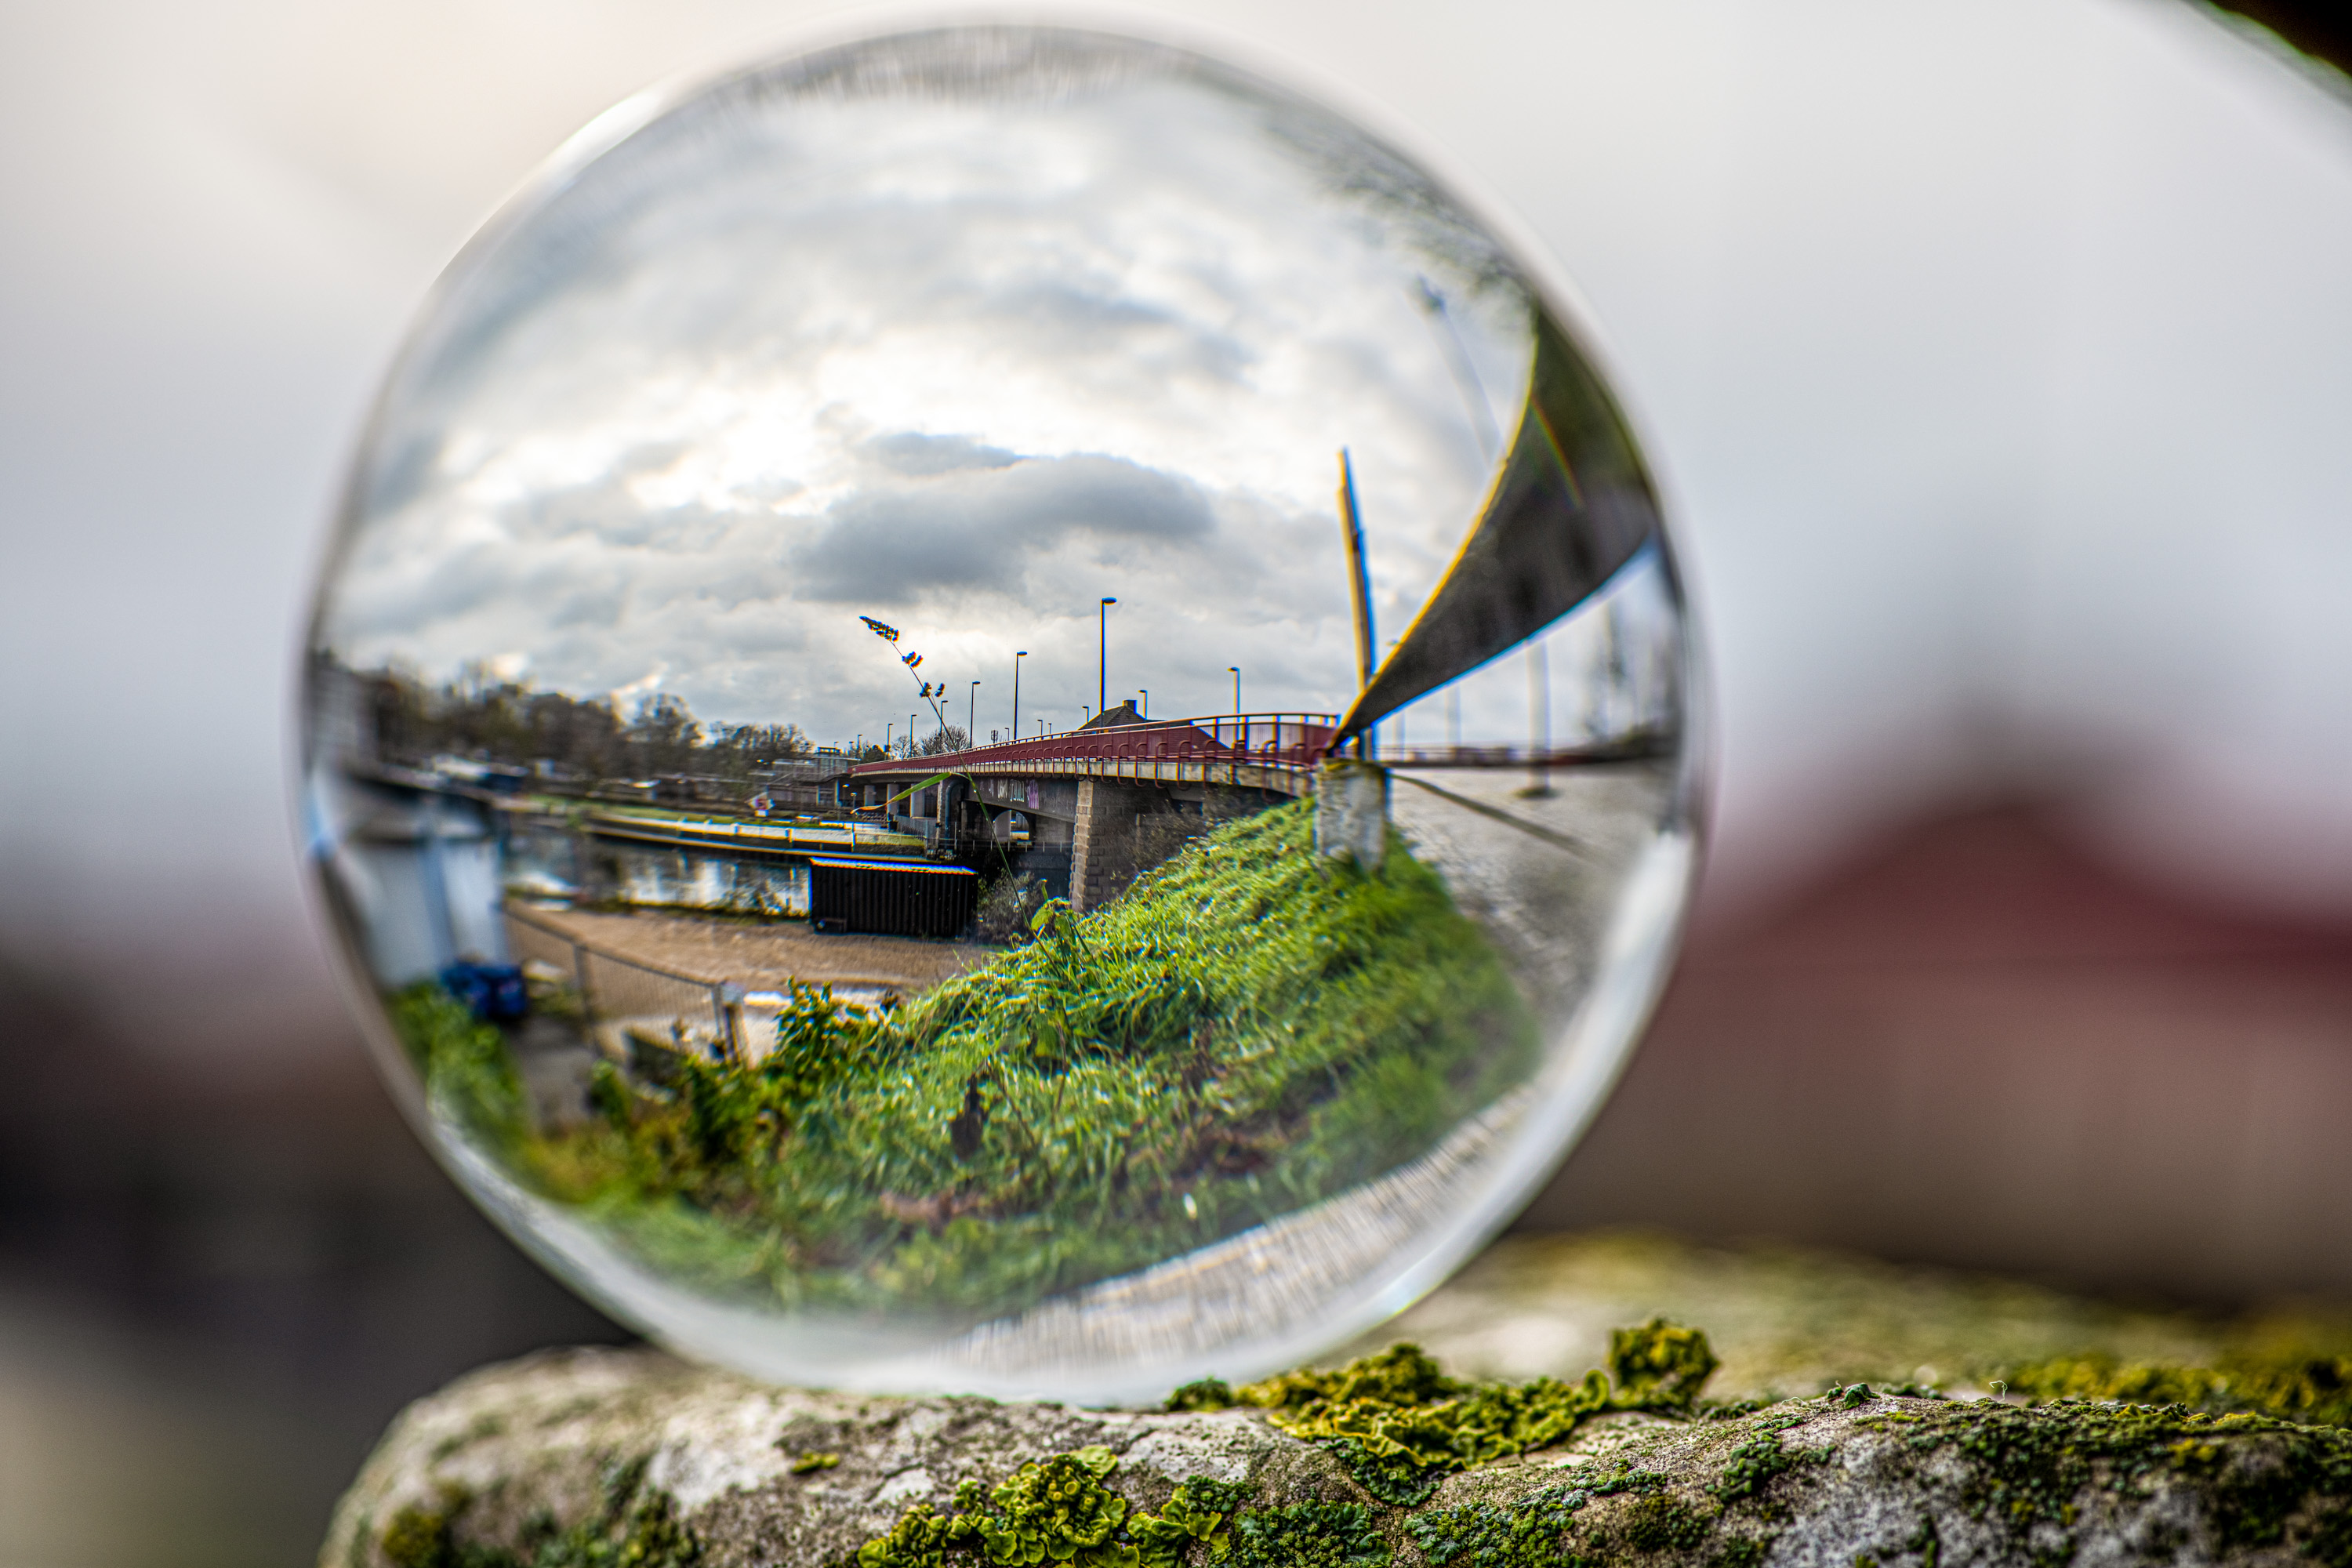
Double Focus
As we are basically shooting with two lenses, what we can achieve is, of course, having two different planes of our image in focus. I think that’s a great opportunity!

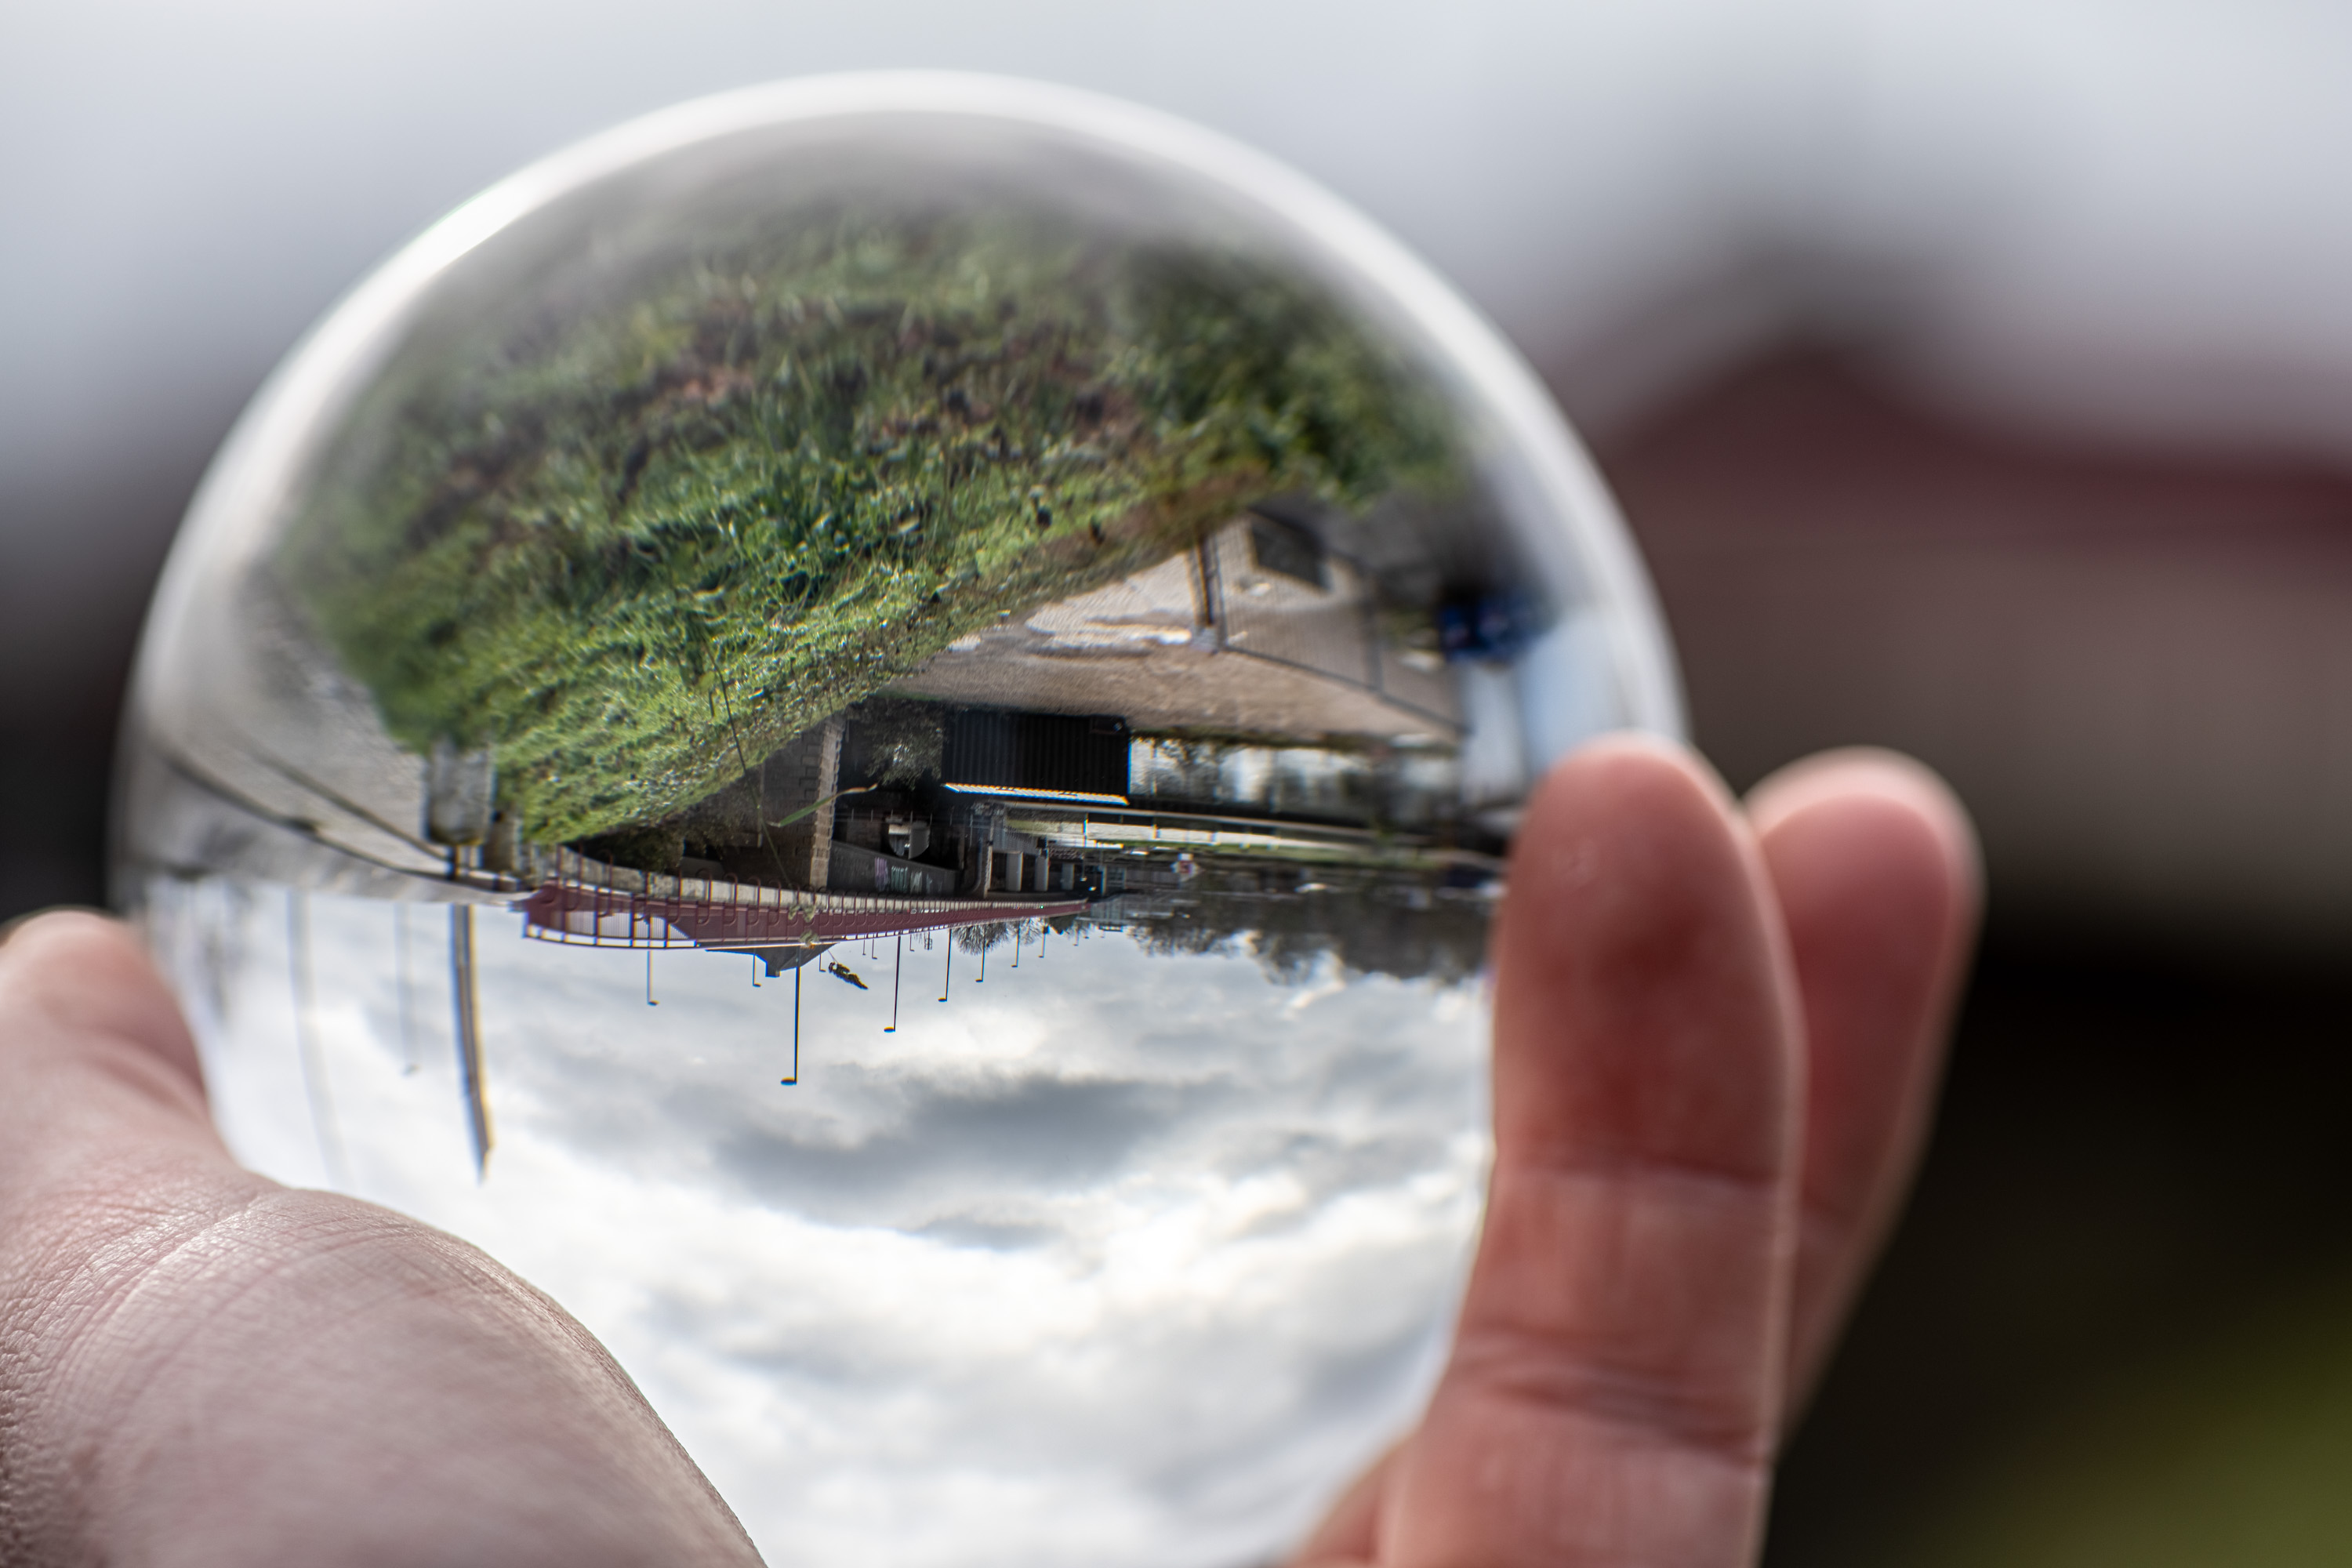
For example I can use this to accentuate some nice texture I have in the foreground, like the moss on this picture, and also have the landscape I wanted to capture in there as well! The beauty is, that we focussed exactly on those two things, and nothing “in between” - so the ugly railing you see in the right is out of focus and the viewer is drawn into the center of the composition.
Photographers are maybe a little spoiled when it comes to lens quality. Our lenses have so many individual glass elements in multiple groups, multi-coated to eliminate color fringing and… of course a ball of glass isn’t the same thing. But in my opinions that’s fine; it has a unique look and for those special photos where you use it, I think it’s not about technical perfection anyway.
Cheating
Chrystal balls are widely known, but only for looking into the future. Not many people know that actually, the image you see through them is upside down, so why don’t we cheat? Not to mess with people, of course, but to use all the possibilities we have with this technique, without the obvious distraction of our main subject being upside down?
I think it’s fine to do that. Of course we can just rotate the whole picture 180 degrees and have it upside down - if the foreground is abstract enough that brings our main subject right-side up and no one will know.
But sometimes the foreground has a really clear “up”-side as well, so what we can do is just rotate the part of the image within the orb. The fact of the orb being completely round makes this really easy.
What’s next?
I hope you enjoyed my first steps with this lovely new toy! I think I’m getting the grasp of it and definitely learned quite a few things!
Building on that, I am thinking of a portrait session with a model holding it in her hands. I also thought that it would be really cool to use that double focus point idea on a subject that is interesting on itself ;)
Lastly, I was thinking about the combination of water with the ball in it… I’m curious on how the two refracting elements interact.